
Glowing skin will always be in—there’s a reason the glass-skin craze has stuck around so long. But now, cloud skin is popping off on TikTok and making us consider whether we ought to ease up on our highlighter.
Originally made popular a couple of years back by MAC makeup artist Dominic Skinner, cloud skin is experiencing renewed interest over on TikTok users looking for a soft-matte alternative to sheeny complexions.
There was a time when matte skin was all the rage — we layered on matte foundations, followed by copious amounts of powder to bake, and then locked it all in with a mattifying setting spray. A few years later, we would pivot to the total opposite end of the spectrum: reaching for anything and everything with glowy finishes, smearing on shimmers and glosses until we beamed like the sun. Now, however, it seems that we’re settling into a middle ground with the “cloud skin” makeup trend.
Here is all you need to know about the dreamiest Spring trend – ‘Cloud Skin’!
The Cloud Skin Trend
@giseleayora Replying to @createave cloud skin tutorial ☁️🤍 Dry skin friendly #softmatte #dryskinmakeup #cloudskin #softglammakeup ♬ original sound – Gisele Ayora
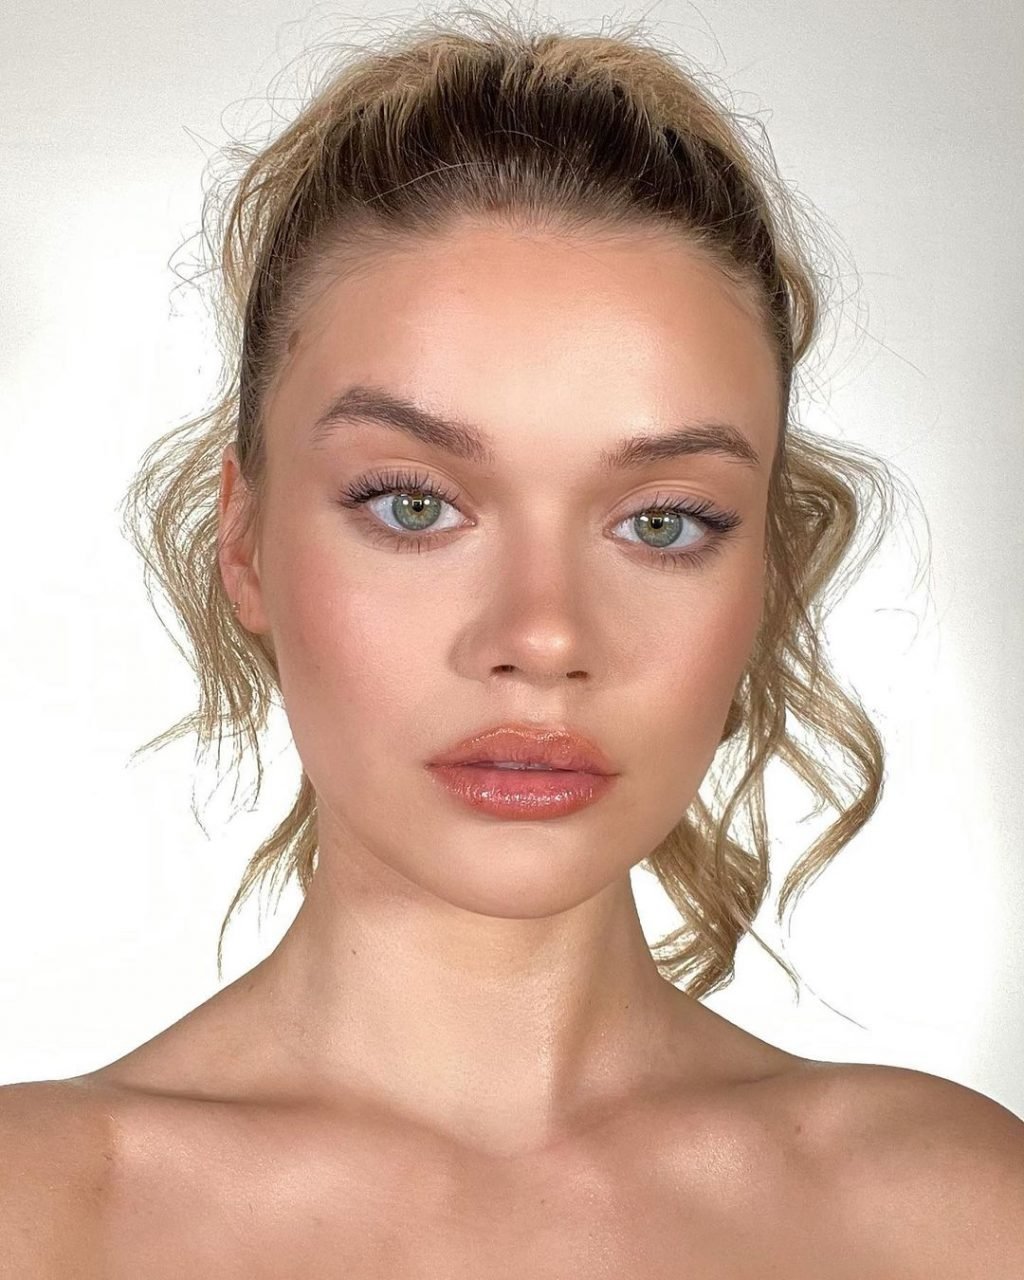
Cloud skin mimics fluffy clouds that float through the sky on a partly-cloudy sunset—they’re the ones that look have a sense of radiance to them as the setting sun shines its last light on the day, while still having that cotton ball appearance.
Here Is How To Achieve The Cloud Skin Look

Step 1 – Skin Prep
start with a super-hydrating base; a moisturizer followed by Hyaluronic Acid, to trap the moisture in for a plumped look. Then let it sit and apply a layer of face oil. Once its well-absorbed, go in with a mattifying, or blurring primer in areas that tend to get oily. Those with oily skin type, may skip the facial oil.
Step 2 – Apply Foundation
Apply a liquid or cream foundation, mixed with a little liquid highlighter and apply sparingly on areas that need coverage, for a natural loud-like look. Starting at the centre of the face and then blend it out evenly with a brush or a beauty sponge, using a patting or push-press motion. You’ll want to pick an airy, mousse-like or liquid foundation.

Step 3- Powder Your Face
Now go over the liquid foundation once its dried, light with pressed powder, or powder foundation with a sponge in areas that tend to get oily for a mattifying, and lasting effect.

As for where you should dust your powder? We suggest you mattify the inner corners of the eyes and around the nostrils, which will make your foundation last longer.
When putting on powder, the amount on your brush, sponge, or poof should be so thin that you can’t even see the product go onto your skin—all you see is its mattifying effect. And you should only apply it in areas where it’s useful, like under your eyes to hold concealer in place or in your T-zone to prevent oil
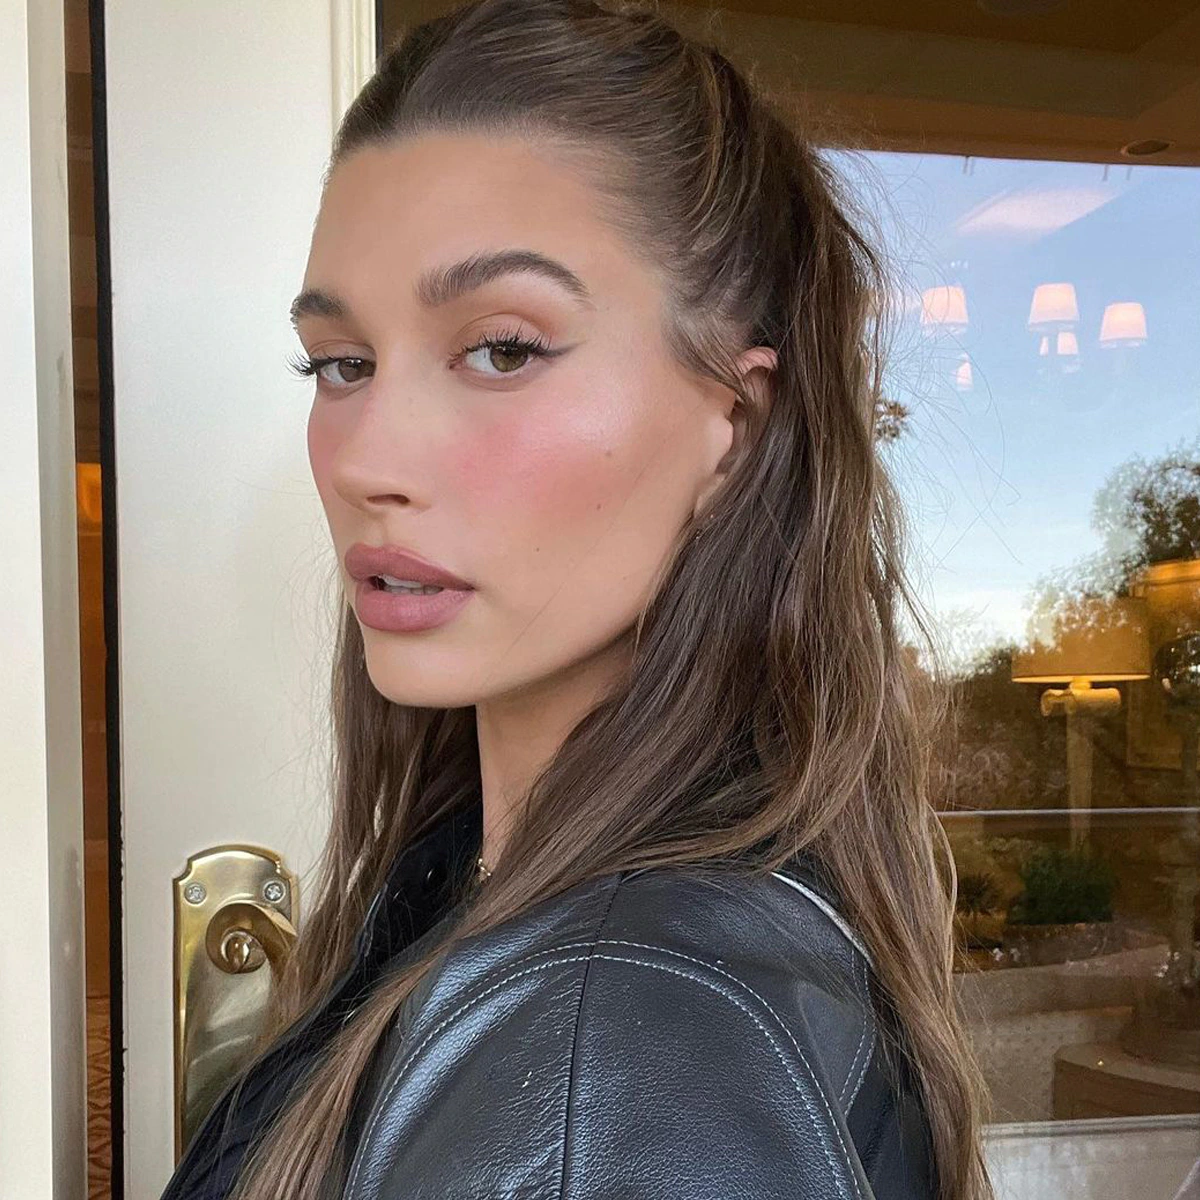
Step 3 – Apply Blush and Highlighter
Apply liquid blush on your cheek bones, lips and eyes for a monochromatic, natural look. Set it with a little powder blush, sparingly. Now pop in some highlighter springly, use a lightweight, shimmer-less highlighter.